You have no items in your cart.
How to Make a Pallet Bookshelf


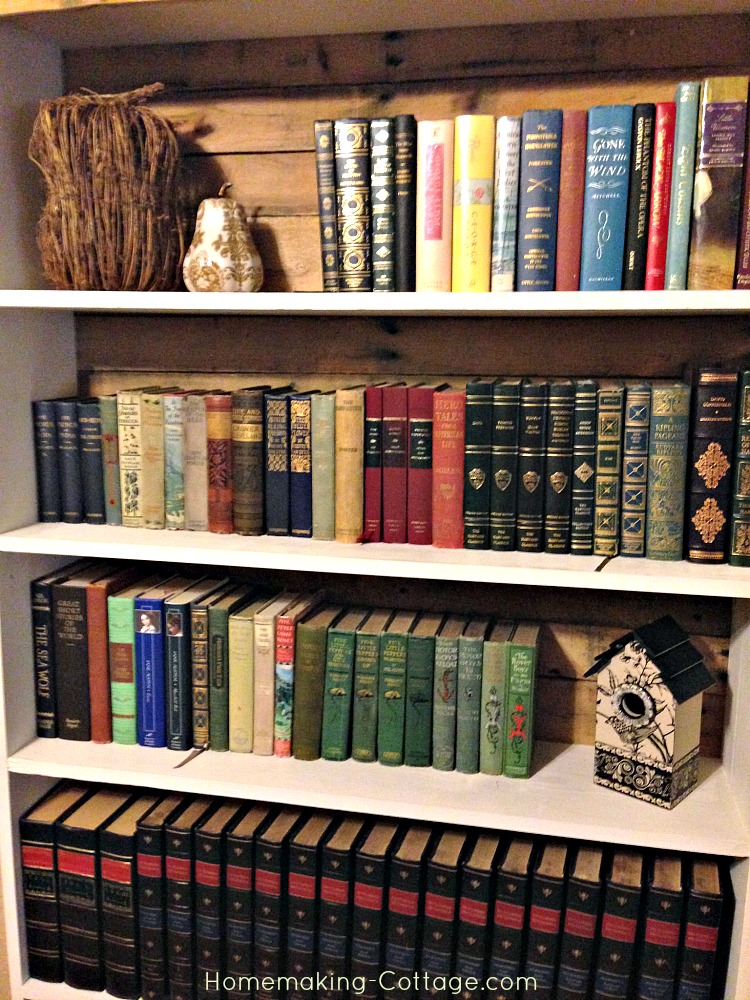
It’s chic. It’s country. It’s sturdy and gorgeous. I love, love, love my pallet backed bookshelf.

What you need:
2 pallets (18-20 slats needed)
1 piece of pallet for the top front, if you desire (ours is 2 inches )
1 5/8” Wood screws
4 1×10 pine boards
Miter saw
*Optional: Router if you want your ends routered
Sand paper or electric sander
Claw hammer or crow bar to remove nails
White paint (or your choice of color)
Measuring tape
Pencil
Directions:
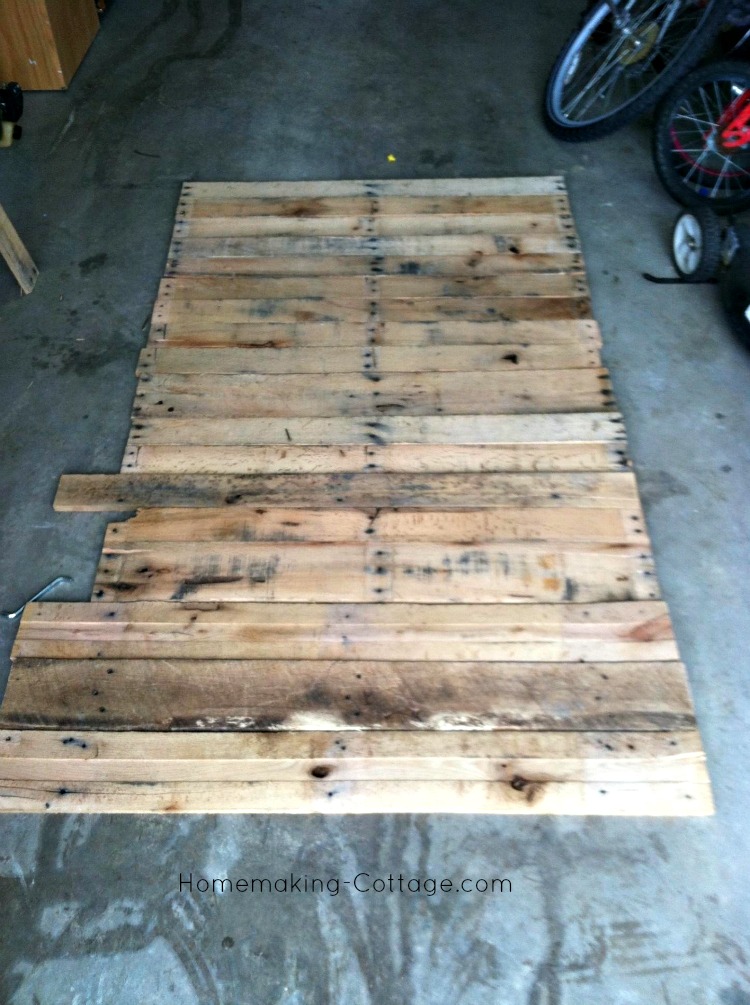
Separate/remove 18-20 slats off the pallets (depending on how tall you want to make it) using a claw hammer or crow bar. Remove all the nails carefully from the boards. This is a great job for your teenage son. If some of the pallets get ripped a little, as long as its not too much, and it doesn’t weaken it, and you have room on the end to screw the slat on, it just gives it character. When all the slats are off make sure they are the same length and use the saw to even them up, if needed.
The finished bookshelf is 70 inches tall and is 40 1/2” wide. The two sides are 69 1/2” tall. We have five shelves that measure 39” in width and we cut the pallets for the back at 40 1/2”. The top piece of the shelf is 40 1/2”.
The space in between the shelves may vary from what you’d like for your bookshelf. Ours are: 13 1/2”, 13”, 12”, 12”, 14”. We raised the bottom shelf 1” off the floor.

Assemble the bookshelf in the following order:
Lay the two long side pieces on the ground. Make the 1” mark from the bottom of the shelf. Take one of the 39” boards put it in between the two side boards and screw tightly into place at the 1” mark. We usually put the screws in about 1/2” away from the ends, using two screws on each side.
Measure the bottom of the first shelf to where you want the next shelf. Ours was 13 1/2”. Make a mark; screw it in in the same sequence. Do the same until you have added the extra four boards. (You’ll still have the top to add.)
Place the top board on the top of the two side boards and screw into place from the top. Screw one side in at a time ensuring that it’s flush with the ends.
Sand and paint the shelf.
Determine the back of the shelf. Lay the shelf front side down after paint has dried. Lay the pallet slats on the shelf from top to bottom making sure they are flush with the sides. When they are aligned as you desire, screw them in one at a time.
Once the pallets slats are in, keep backside up. Locate each shelf. Put two screws through the back, spaced evenly, into each shelf to support each of the shelves. This will prevent bowing depending on the weight of the books.
We anchor all of our bookshelves into the wall for safety using L-brackets at the top. This will help prevent toppling when you have children or animals.
Enjoy your shelf…give us some feedback love!
LOVE IT!! ACK! I can’t wait for the weather to warm up so I can do one. Stupid winter.
LOL I understand that!